How To Consolidate Multiple Email Addresses Into One Gmail Account
Apr 16, 2024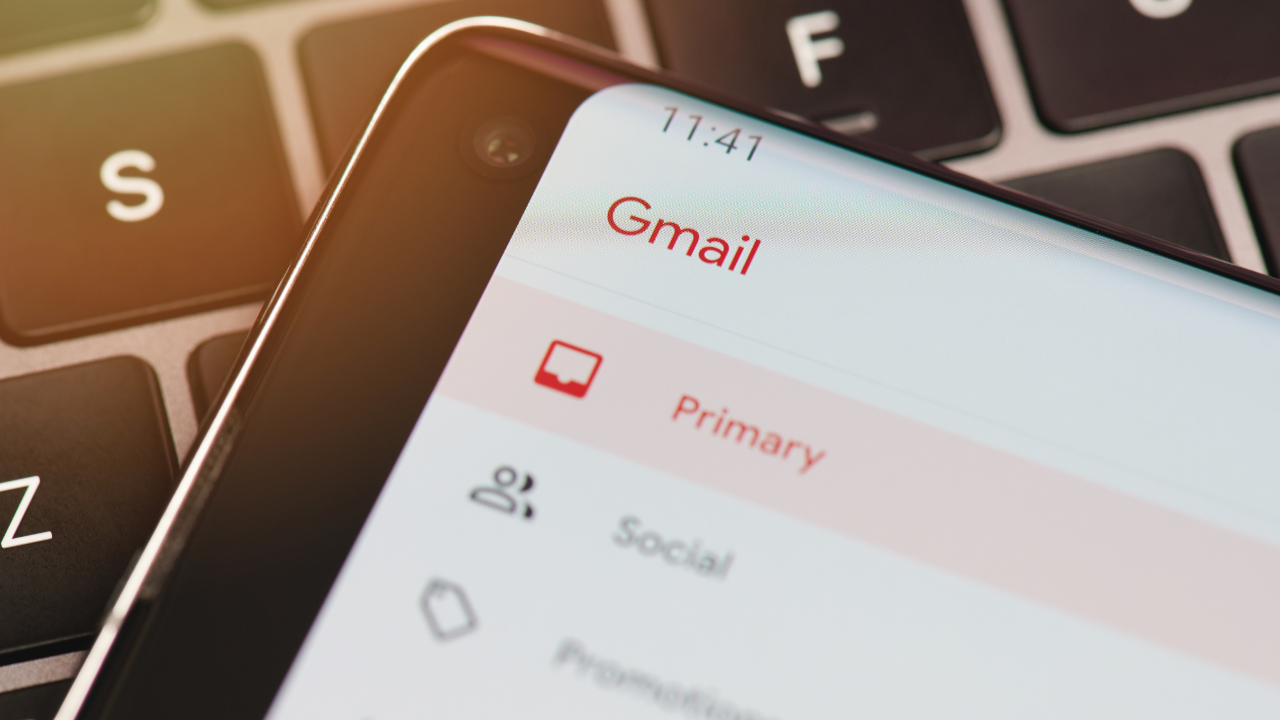
Consolidating multiple email accounts into one Gmail account to manage all your emails from a single interface can be a great way to streamline your communication. Here's a step-by-step guide on how to do this:
Step 1: Set Up Email Forwarding from Other Accounts
For each of your existing email accounts that you want to consolidate:
1. Log into each email account.
2. Locate the settings or options menu.
3. Find the forwarding section and enable email forwarding.
4. Enter your Gmail address to which you want all your emails forwarded.
5. Save the changes and, if required, confirm the forwarding request via a confirmation email sent to your Gmail account.
Step 2: Add Your Email Accounts to Gmail
To send emails from Gmail using your other email addresses:
1. Open Gmail and go to Settings (click the gear icon in the upper right corner).
2. Go to the "Accounts and Import" tab.
3. Under "Send mail as," click "Add another email address."
4. In the popup window, enter your name and the email address you wish to add.
5. Proceed with the steps to send verification to that email address.
6. Open the verification email from your Gmail, click the verification link, or enter the code provided.
Step 3: Configure Gmail to Check Your Other Email Accounts (Using POP3)
1. Still in the "Accounts and Import" tab in Gmail settings, find the "Check mail from other accounts" section.
2. Click on "Add a mail account."
3. Enter the email address of the account you want Gmail to check.
4. Enter the details for the POP3 email setup (including server address, port, and any required security settings).
5. Decide if you want to leave a copy of retrieved messages on the server or not.
6. You can also label incoming messages from this account or archive them automatically.
7. Save your changes.
Step 4: Set Up Default Sending Options
1. In the "Send mail as" section, you can choose which email address should be your default sending address.
2. You can also configure "When replying to a message" to either reply from the same address the message was sent to or always use the default address.
Step 5: Organize and Manage Your Emails
1. Create labels in Gmail for each of your email addresses to keep your inbox organized.
2. Use filters to automatically move emails to these labels or perform other actions like marking as read, archiving, or applying stars.
Step 6: Test Your Setup
1. Send test emails to and from your newly added email addresses to ensure everything is working as expected.
2. Check if the emails you send from Gmail are correctly displaying your chosen sending address.
Additional Tips
Regularly check the forwarding and POP3 settings in your Gmail and other email accounts to ensure they are still connected and functioning properly.
Review the security settings and passwords periodically to maintain the security of your email communications.
This setup allows you to manage multiple email identities from one Gmail account, making it easier to handle personal and professional communications in one place.
P.S.: When you're ready, here are more ways I can help you...
1. We're looking for skilled professionals and coaches we can train to help small business owners succeed. We pay the training costs. If you're currently a business advisor or coach, or you'd like to put your hard-earned skills to work as a business advisor and fire the boss for good, here's a video that explains what we're looking for.
2. I publish a weekly email newsletter each Tuesday for business advisors called "The AI-Powered Business Advisor." You'll get the latest AI tools and prompts, as well as easy-to-implement strategies for growing your business advisor practice. You can learn more here.
Business Advisors Needed:
If you have capacity and are open to taking on more clients and scaling, get more details here...
Want to grow with help from AI?
Subscribe now to "The AI Powered Business Advisor" and get the latest tools, trends, prompts, and examples you can use to generate more leads, win more clients, and make more money.
Plus, you'll get immediate and lifetime access to the AI Quick-Start course for business consultants and coaches, along with our list of favorite AI tools, updated weekly.
We hate SPAM. We will never sell your information, for any reason.
